| Color scheme for the outside panels/bezel |
| Flat black with "subtlety" in glossy black |
|
88% |
[ 8 ] |
| Glossy black with "subtlety" in flat black |
|
11% |
[ 1 ] |
|
| Total Votes : 9 |
|
|
|
Author
|
Thread
|


|
|
|
|
|
|
|
|
|
|
|
|
Nikola
Hung Like a Flea

Joined: 22 Mar 2009
Posts: 790
Location: Edmond, OK
|
|
|

|
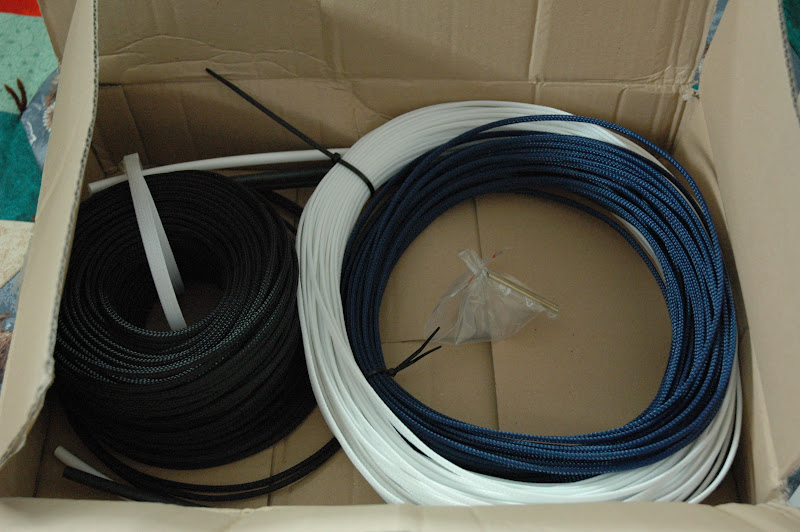
The last of my parts arrived, well almost. I've still got to order one black stop fitting to replace the chrome one I currently have, but other than that I have everything for the build!
I am absolutely in love with these black compression fittings, they look fantastic on everything!
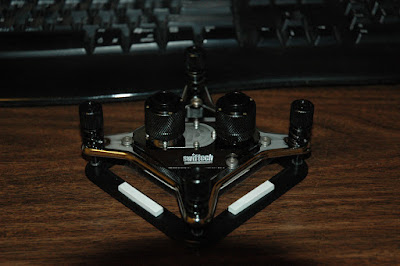
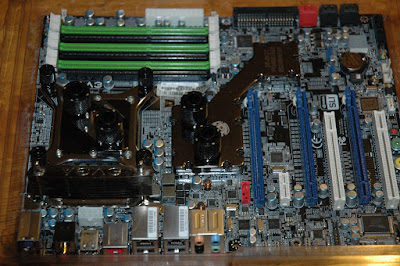
Swiftech Apogee XT with the compression fittings attached, waiting to go on the motherboard
Bitspower Black Freezer with compression fittings on, waiting to go on the motherboard

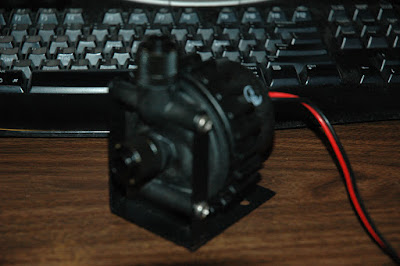
This picture I included because I find it hilarious how badly I managed to autofocus out the big black pump in the middle of the picture. Also it's my modified Swiftech MCP-655.
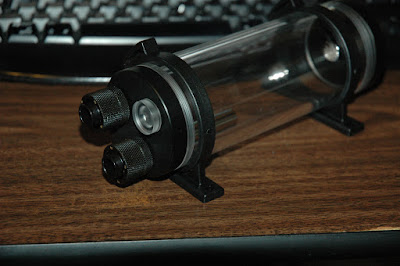
My Bitspower Water Tank Z-Multi 150 Inline Reservoir with all fittings attached
The whole assembly, waiting for me to finish up modifying the case to accommodate the pump, radiator and reservoir so I can start leak testing.
That's it so far, until tomorrow I'll just be blowing out the dust from everything and trying to finalize where I want everything to go.
_________________
Failure is just success rounded down.
|
 Mon Jan 11, 2010 8:53 pm
|
   
|
|
Nikola
Hung Like a Flea
Joined: 22 Mar 2009
Posts: 790
Location: Edmond, OK
|
|
|
|
Got to work the last couple nights and while I haven't made quite the progress I wanted, I was able to get alot done.
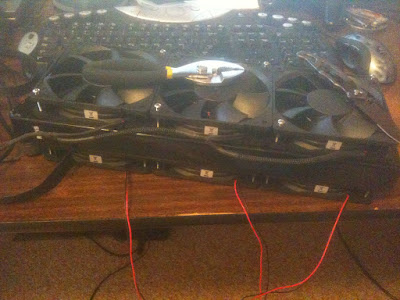
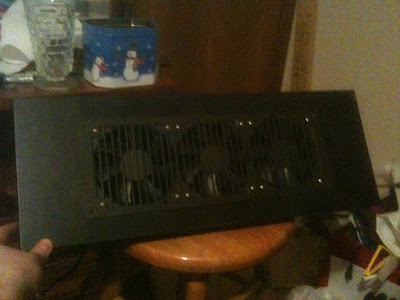
Here are the fans attached to the radiator while I wired them into two 3-pin headers for the lot of them.
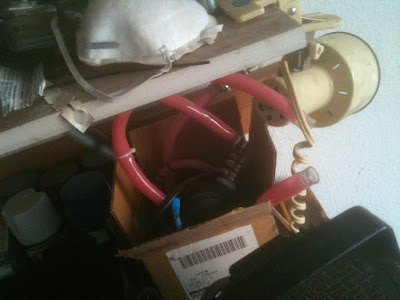
Here's a pic of Vapor's old watercooling system that is now a very nice salmon color for some reason 
This has seen alot of action, first in the Adrenarig, then my gigantic Super Micro tower and then Vapor's PC-71.
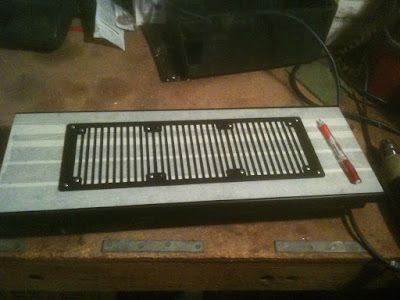
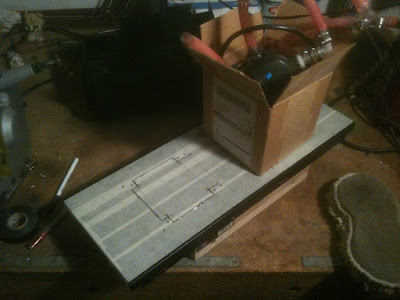
Radiator grill being traced so I could cut the hole in the top panel. ANYONE with a jigsaw is more than welcome to help me the next time I do this. Doing it with a Dremel SUCKS!
Vapor in his "modding pajamas"
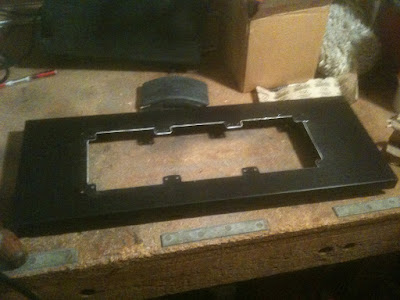
First major cuts done to the top panel.
Majority of the cutting done, panel ready to have the edges rounded and then sanded down to perfection.

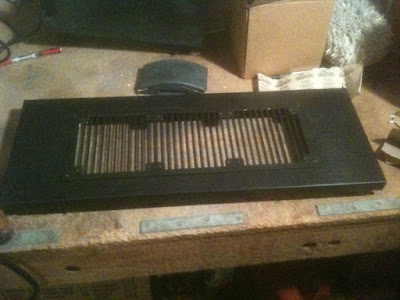
Radiator grill in place, checking clearances of the cuts underneath.
Yet more top panel nonsense.
Fans, radiator and more fans mounted to the top panel and grill.
Reservoir mounted. Wasn't my first choice of locations, but I think it will look just fine.
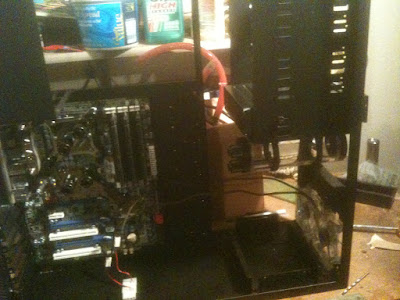
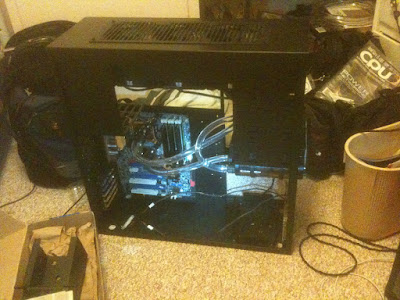
My absolute mess of tubing that has a long explanation below...

So this build has been somewhat unfortunately stalled for a bit.
Firstly, the Tygon tubing I bought is absolute crap. It is incapable of making the bend from the CPU block to the chipset block which meant that I had to temporarily route the setup differently.
Original loop:
Pump->Rad->CPU->Chipset->Res->Pump
Temporary loop:
Pump->Rad->CPU->Res->Chipset->Pump
The problem with this setup is that it creates ALOT of extra tubing crossing through the middle of the case. All four tubes running to and from the two waterblocks create a big crappy ugly thing that sucks and I hate it! As far as I can tell, it shouldn't adversely affect performance but it's a pretty high priority to find other tubing that can make the bend I need and replace it.
Secondly, my radiator seems to have sprung a leak, or two. This presents a somewhat obvious problem where... Everything sucks and I hate it! Anyways, I have to order a new radiator, hopefully get a refund on my current one and then swap it out.
So... If I can get a new radiator and some less sucky tubing then this build will be back on track. Until then I'll be working on the exterior of the case to get the paint finalized and applied and before that more bondo work on the front panel and maybe even wiring up a power button.
_________________
Failure is just success rounded down.
|
|
Fri Jan 15, 2010 6:21 am
|
|
|
|
|
|
|
Nikola
Hung Like a Flea
Joined: 22 Mar 2009
Posts: 790
Location: Edmond, OK
|
|
|
|
Well I ordered more stuff, tackled more problems but I think I've got it pretty close to watercooled.
I forgot to take a pic of the radiator before I put fans on it, but trust me when I say this thing is huge. It's exactly twice as thick as my previous Swiftech radiator and I'm in love with it. If you're wondering what it is, it's the Feser XChanger Triple 120mm Xtreme Performance Radiator. Feser makes an incredible product, I have never been this impressed with a radiator or the accessories it comes with, it's fantastic.
I also bought two 45 degree rotary fittings so I could make the proper bends in the loop. Even taking 90 degrees out of the bend the tubing just barely made it since I shortened the distance it traveled. I ended up having to cut the tubing at angles so it would not kink, but it's there and it works beautifully.

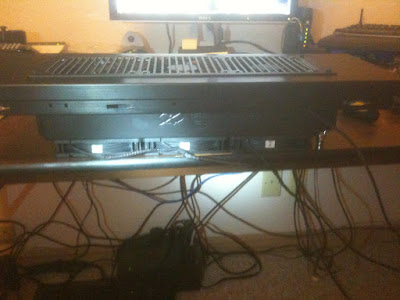
Here's a shot of the pump meeting the radiator. It sits atop the BD-ROM drive attached by Velcro. You might think it's not the most secure mounting system, but it really works well and it helps dampen the pump noise.
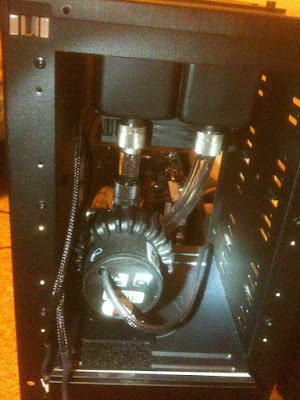
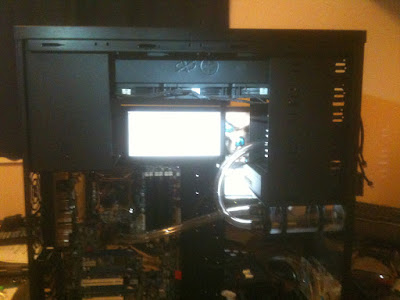
Here is where it now sits, on the floor, leak testing and hopefully bleeding air out of the system. The positioning of the reservoir makes it a bit of a challenge to fill and bleed but overall I think it's still easier than Server's watercooling.
_________________
Failure is just success rounded down.
|
|
Sat Jan 23, 2010 12:18 am
|
|
|
|
|
|
|
|
|
|
|
|
|
|
|
|
|
|
Forum Rules:
You cannot post new topics in this forum
You cannot reply to topics in this forum
You cannot edit your posts in this forum
You cannot delete your posts in this forum
You cannot vote in polls in this forum
|
|
|
|
|
|

 okgg.org > Forum Index > Modding > Subtlety